¶ Agenda
1. Download app
2. Create Account
3. Create a farm
4. Create a pond
5. Create a list of supplies
6. Start shrimp event-log
¶ 1. Download app
1. Open link https://tomota.vn/en/tomota-management-application
2. Click “Download” or scroll to “TOMOTA MANAGEMENT APPLICATION”
3. Click “Android” or “iOS”

4. Download and start using app.
¶ 2. Create Account
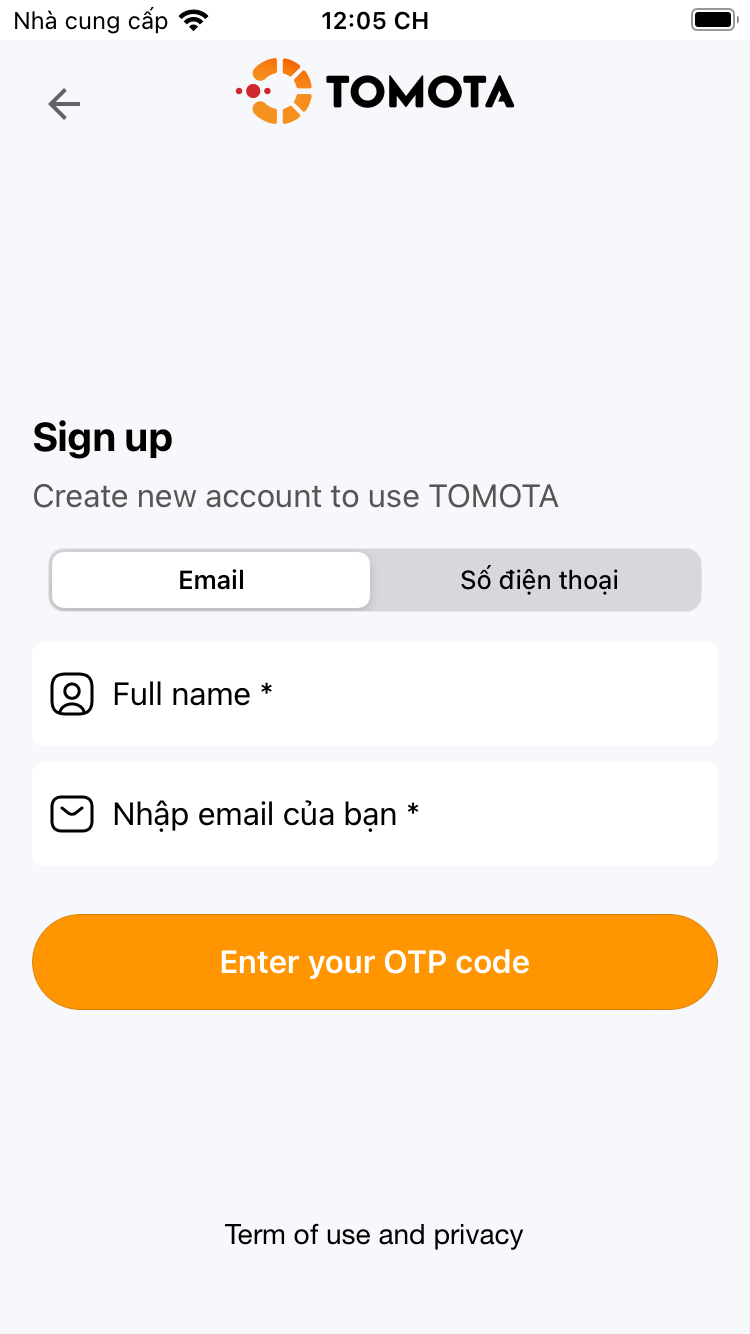
1. Open the app
2. Choose to create an account or login if you already have an account
3. Choose to create an account by email or phone number
4. Enter your name and email or phone number
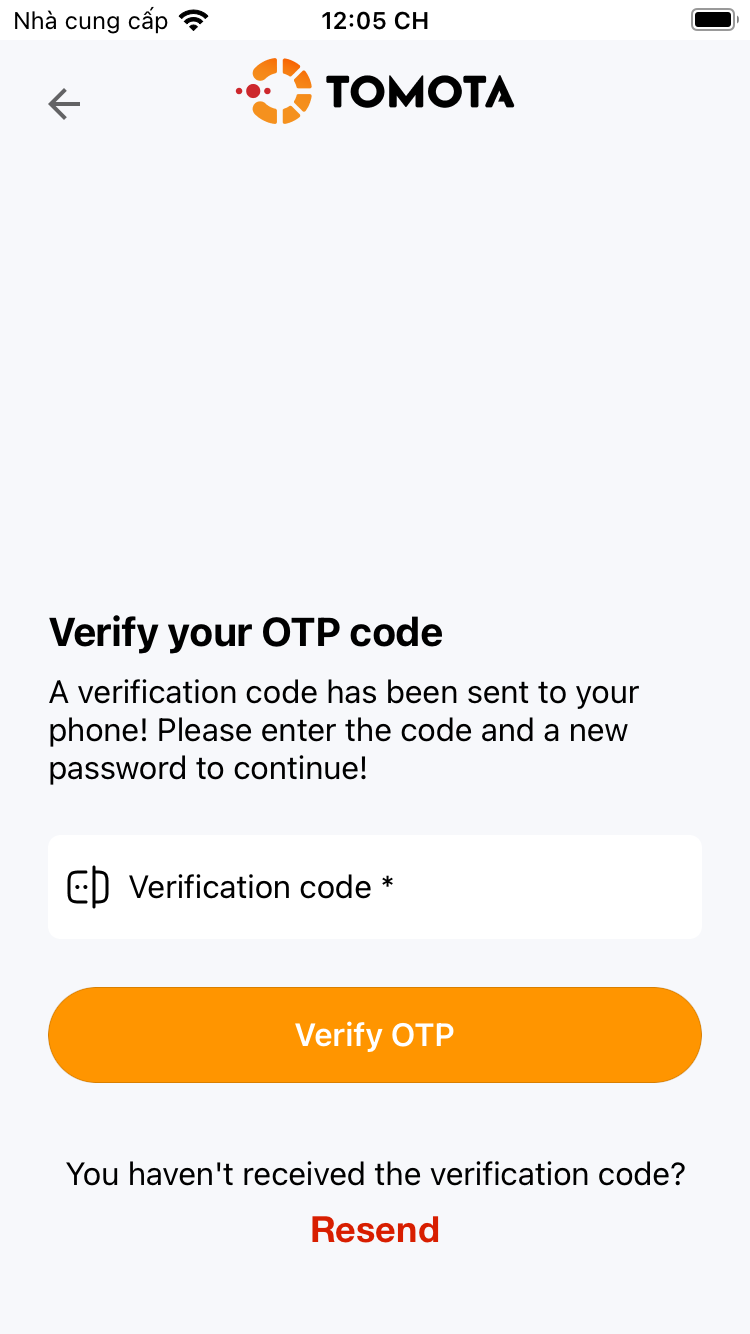
5. Enter the verification code (The code is sent to the email or sms of the phone number you entered in the step above)
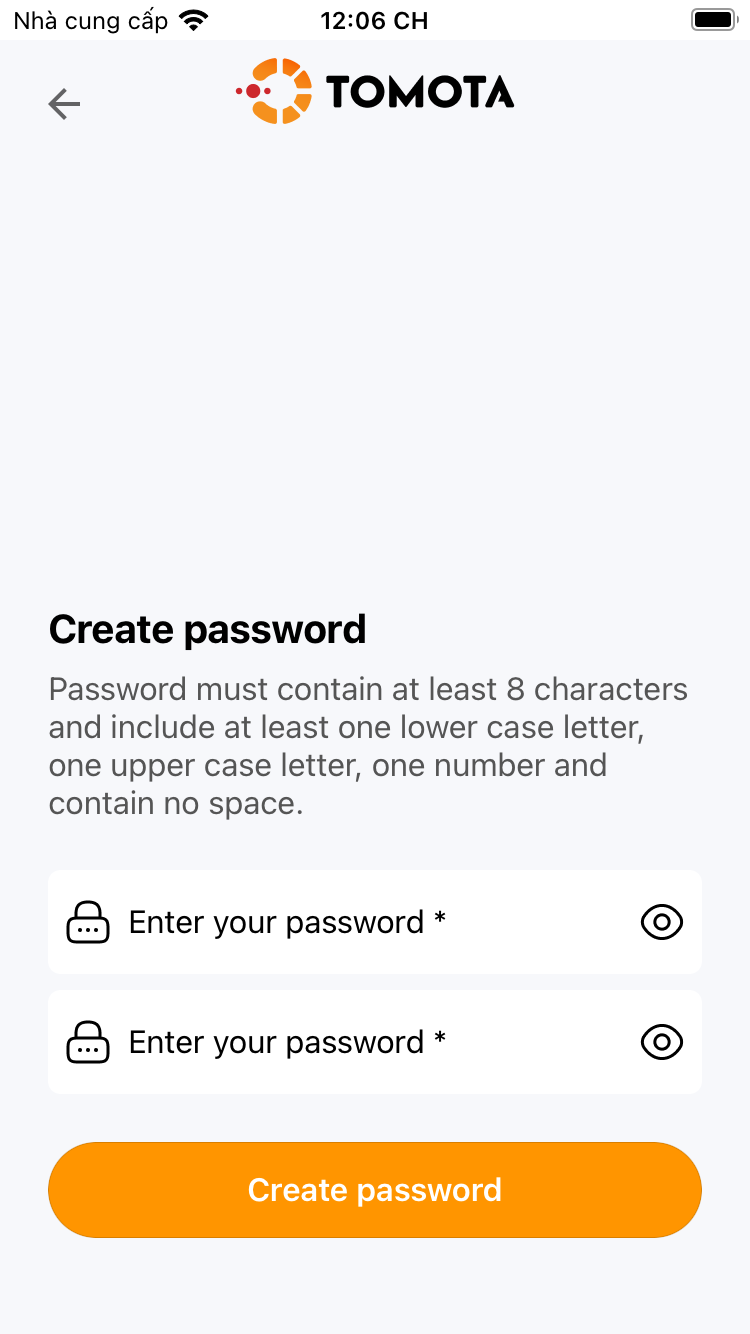
6. Enter the password and verify the password.
7. Complete account creation and login.
 |
|
|
 |
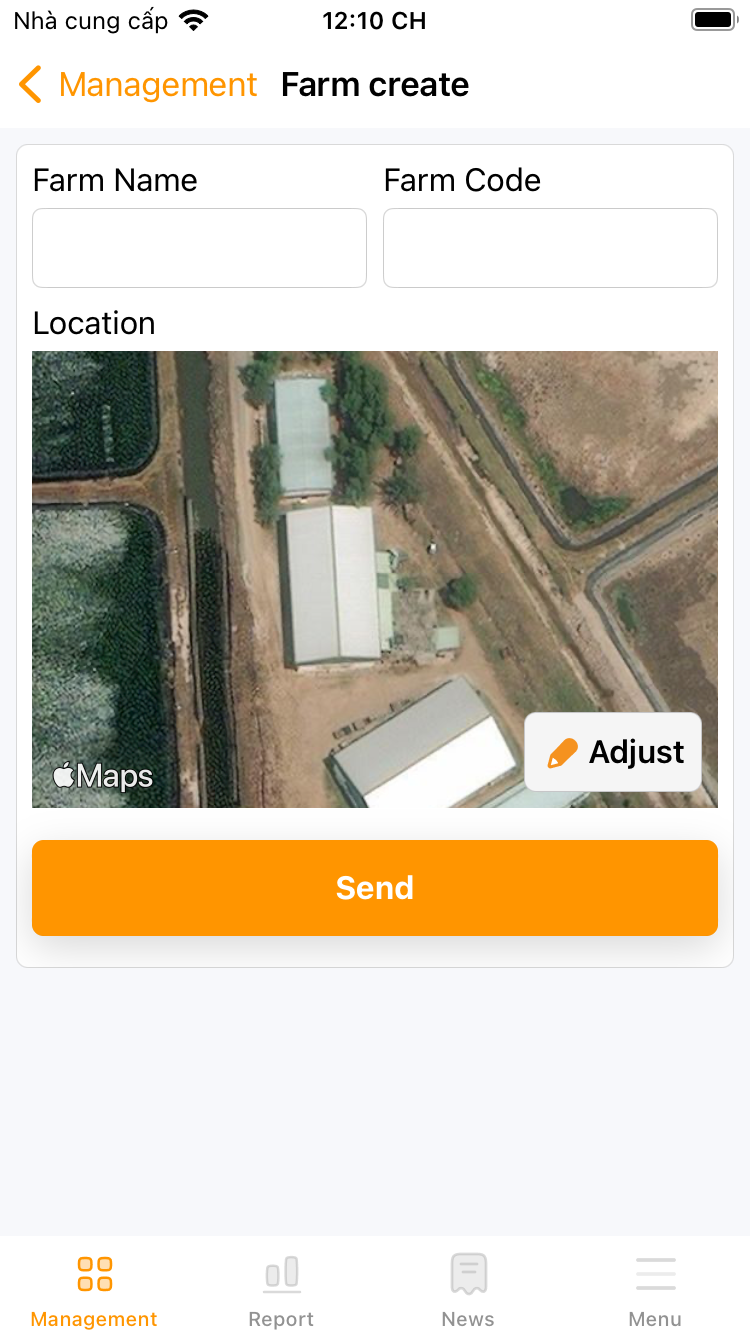
¶ 3. Create a farm
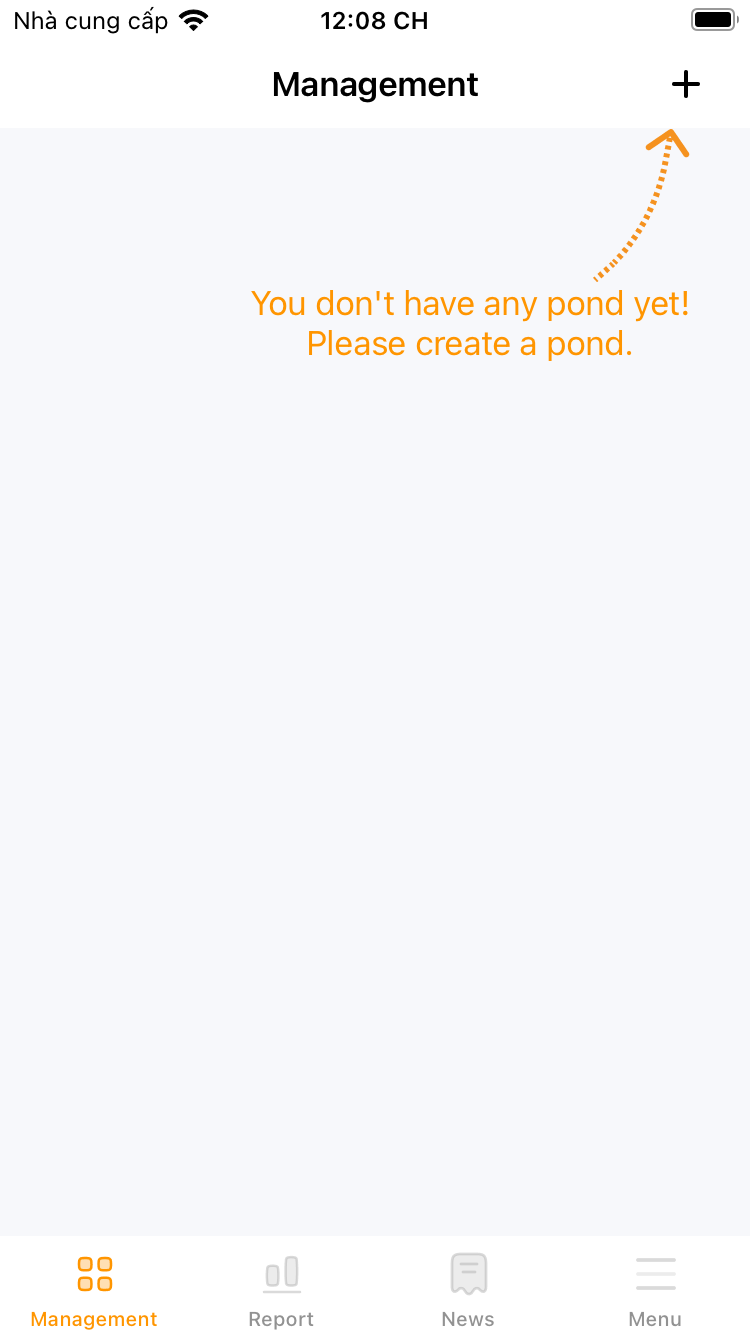
1. At the “Management” screen, select the “+” button and select create farming area.
2. Enter the name, code and press the “Adjust” button on the map to select the location of the farming area.
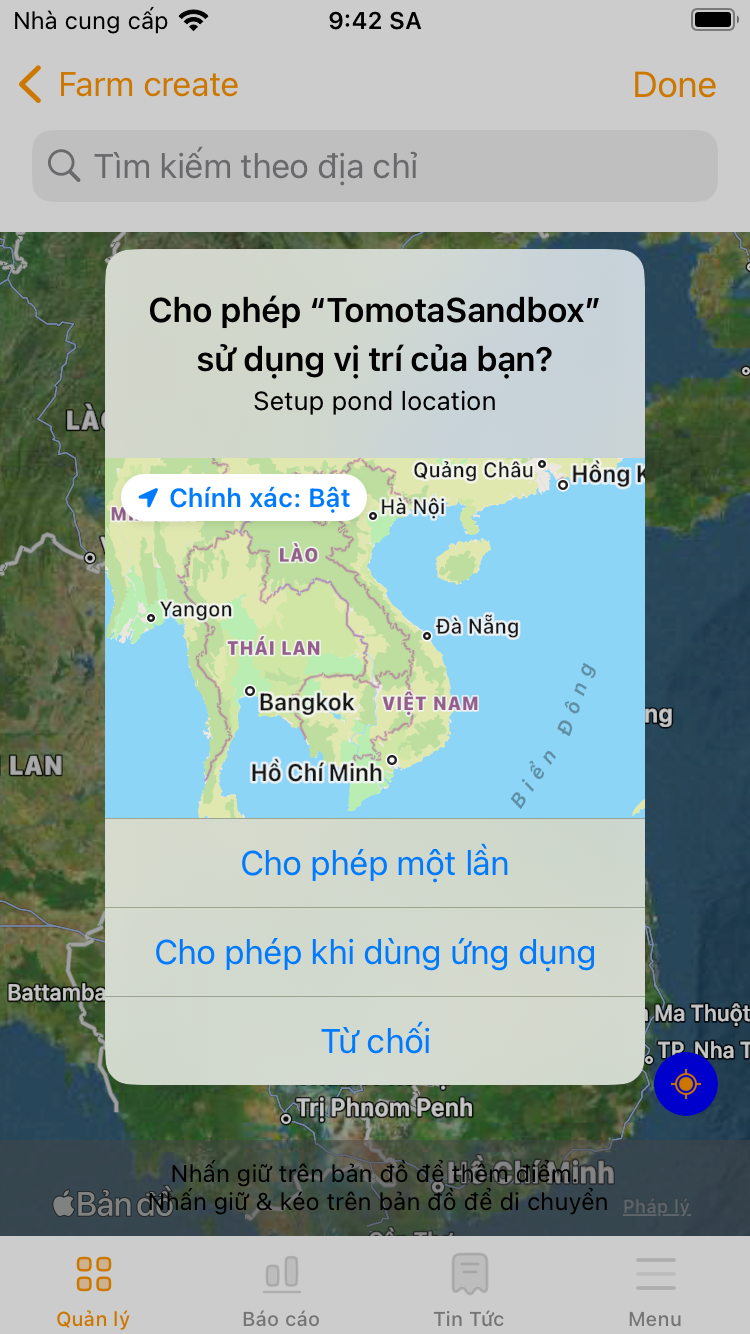
3. Accept the permission to use location if requested.
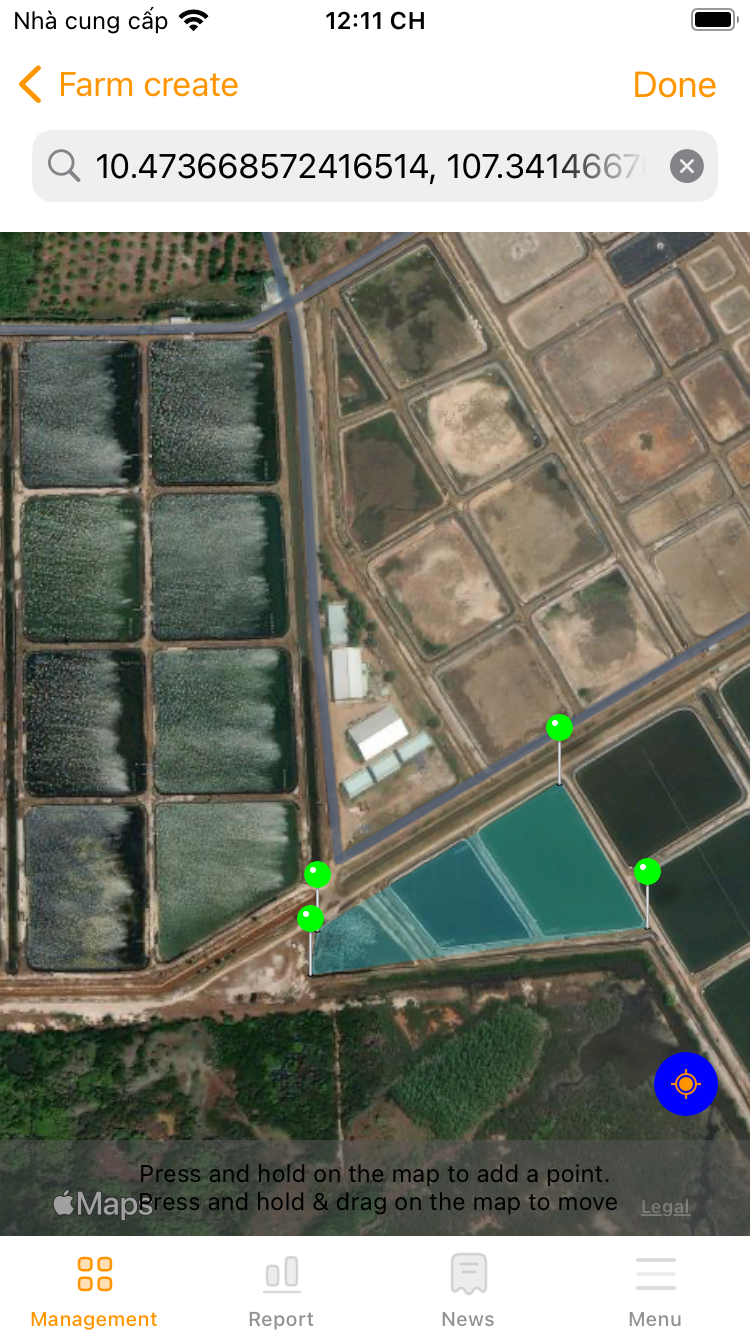
4. Long press on the map to add points. You can add more points to draw a border around the farming area.
5. Click “Send” to finish
 |
 |
 |
 |
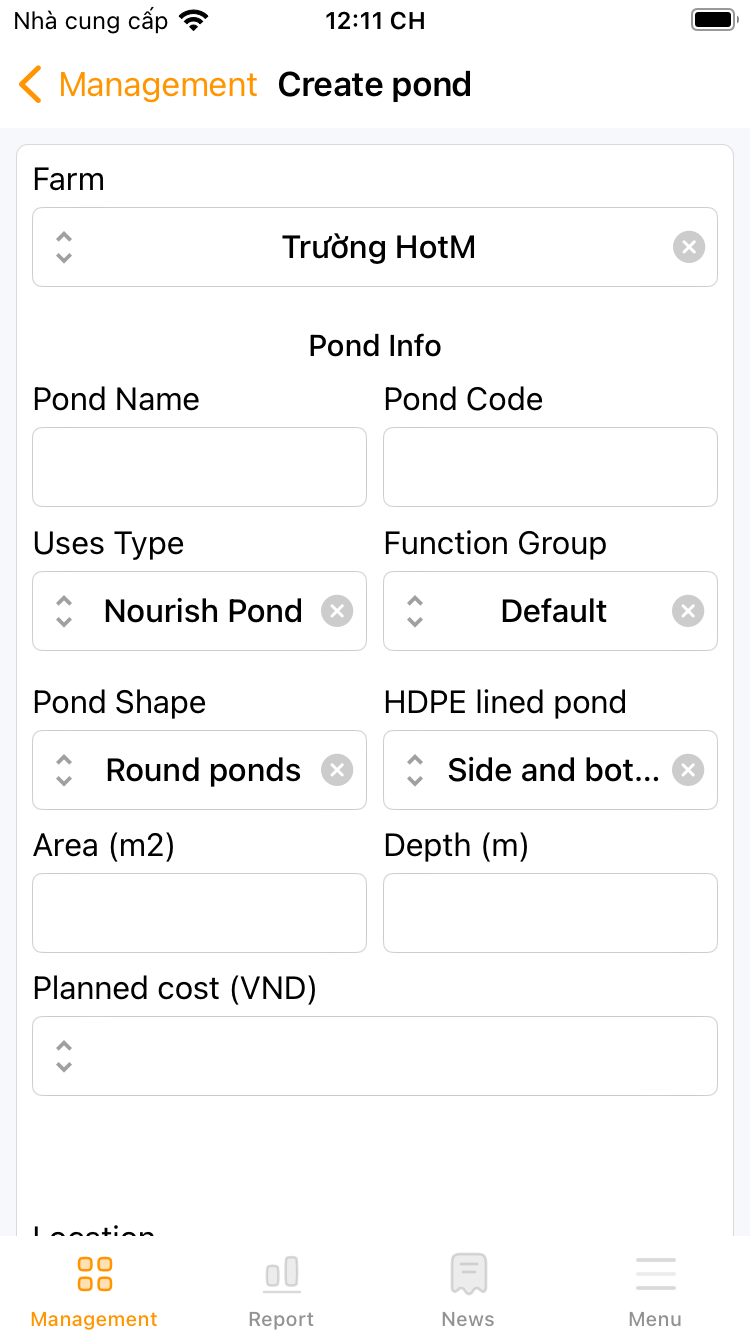
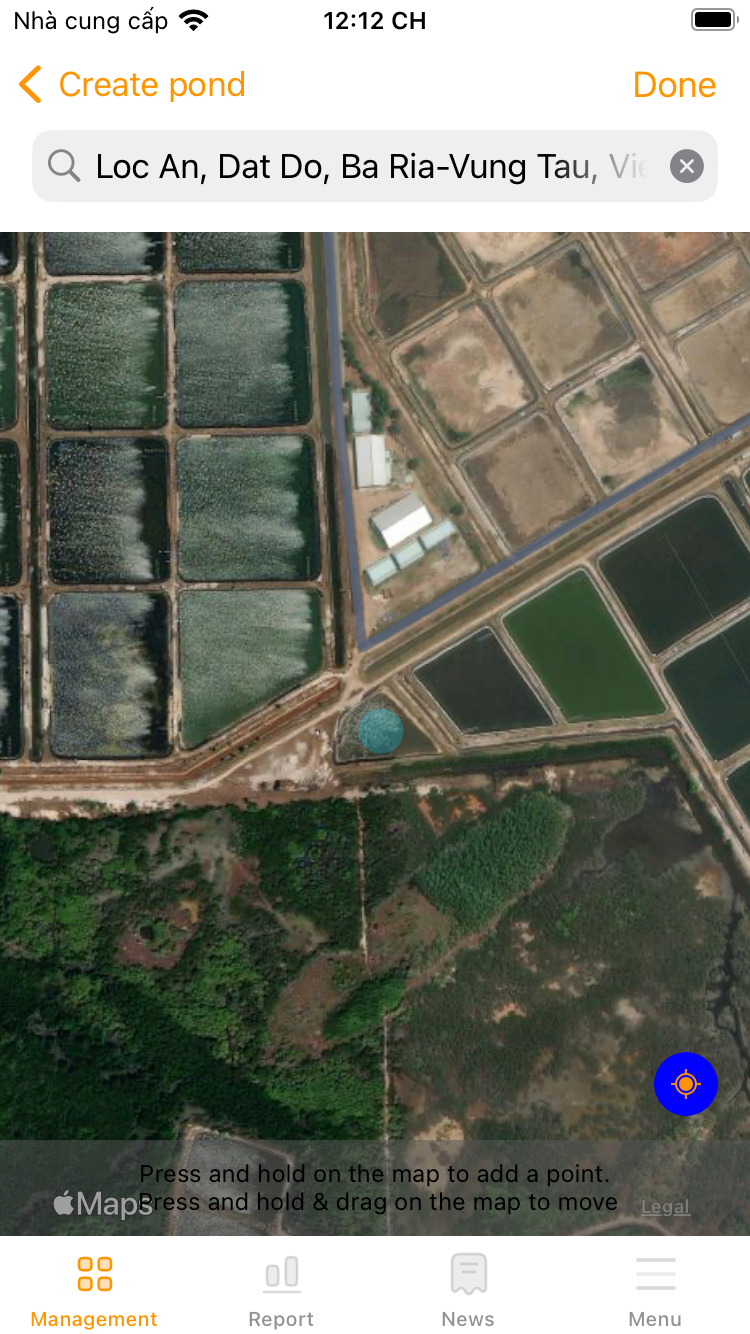
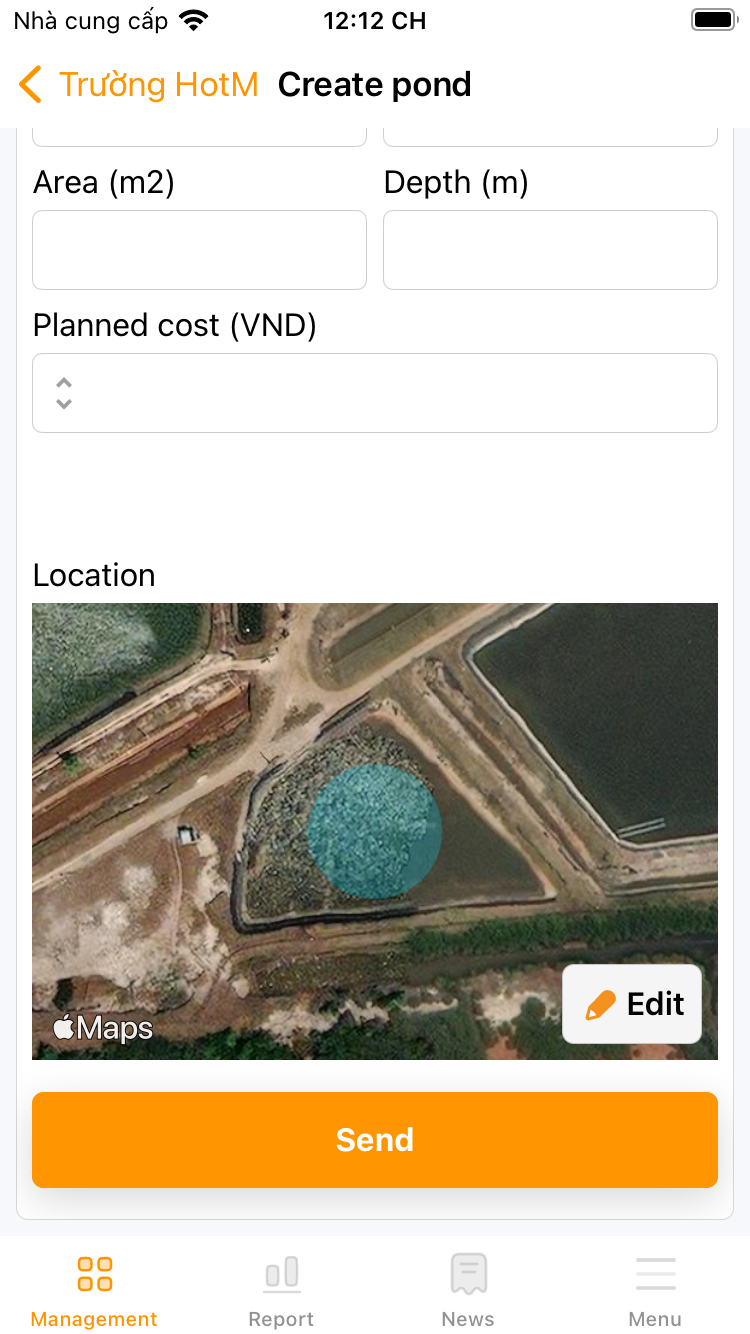
¶ 4. Create a pond
1. At the “Management” screen, select the “+” button and select create a pond.
2. Enter the name, code, area, depth, pond type, etc… of the pond and press the “Adjust” button on the map to select the pond location.
3. Accept the permission to use location if requested.
4. Long press on the map to add points. Depending on the "Pond Shape" is round or square pond, you can add one or more points to draw a border around the pond.
5. Click “Send” to finish
|
|
 |
 |
 |
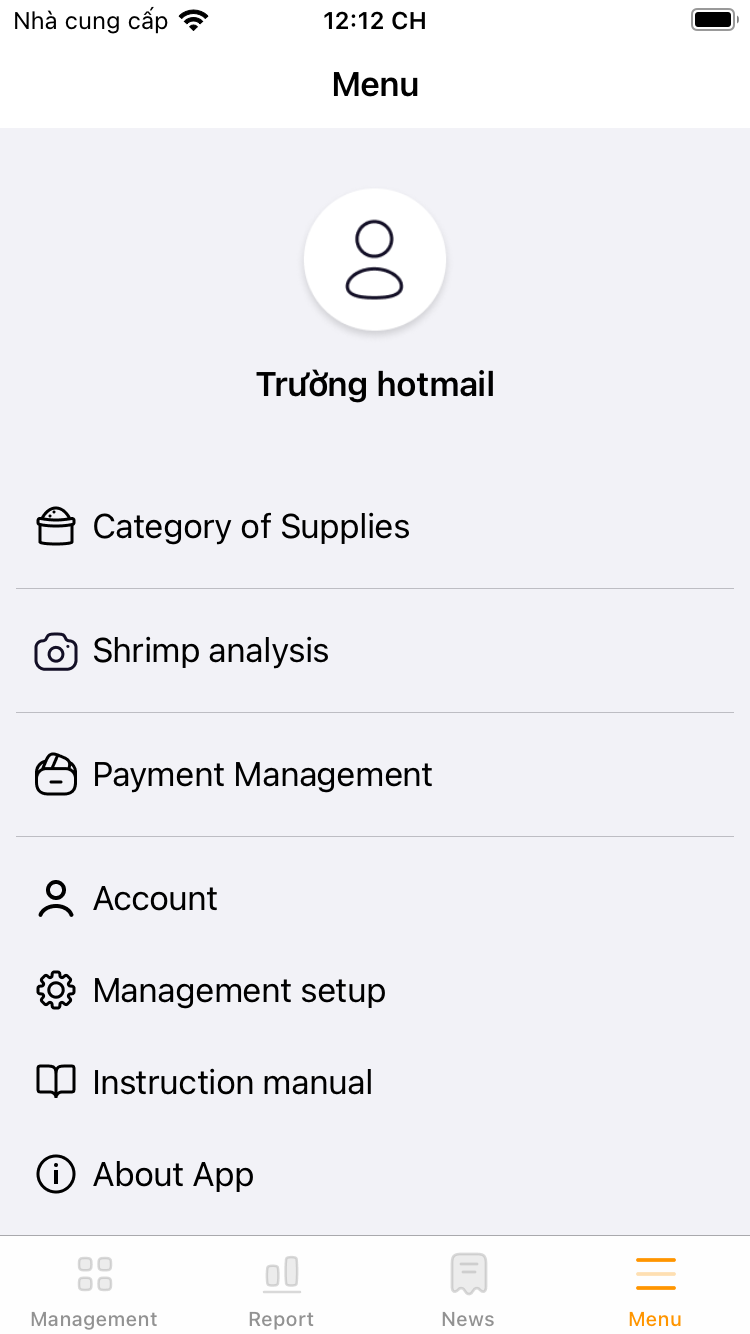
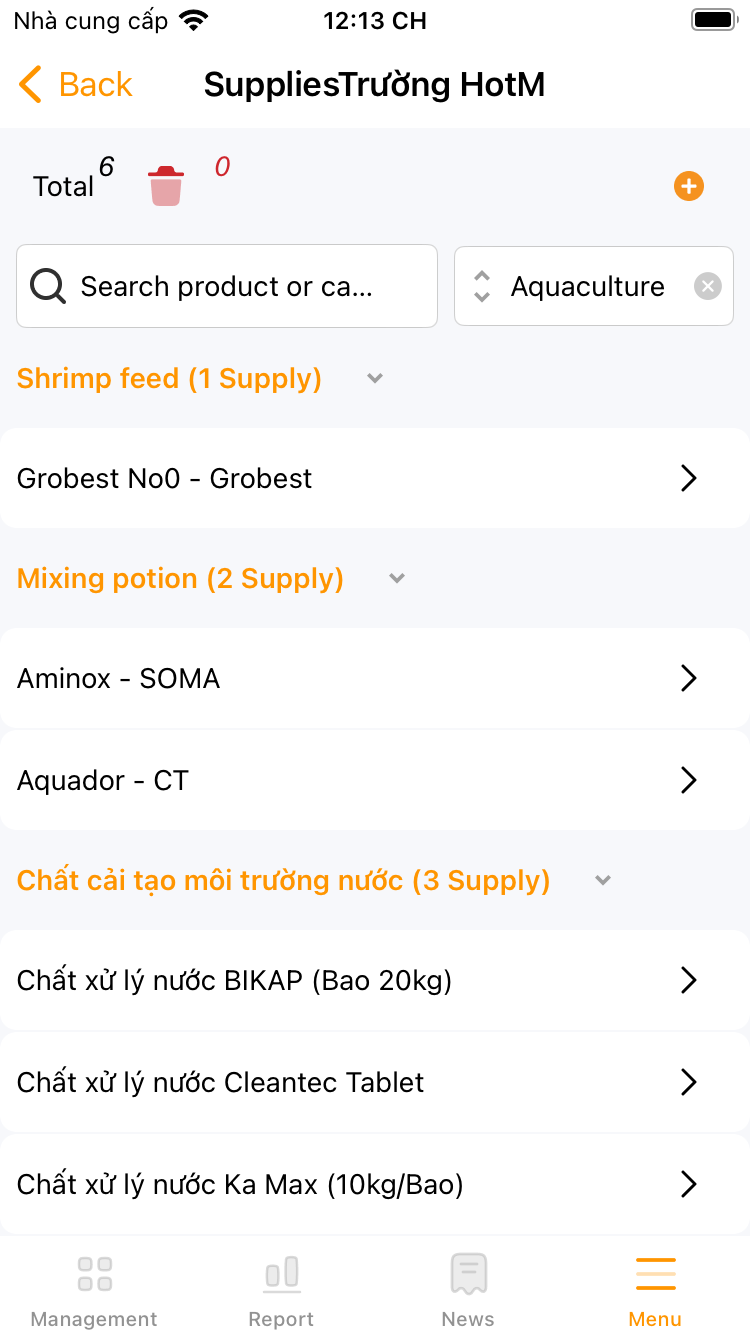
¶ 5. Create a list of supplies
To using the shrimp diary event-log feature, you need to create a list of supplies used in the process: Seeds, feed, chemical, ...
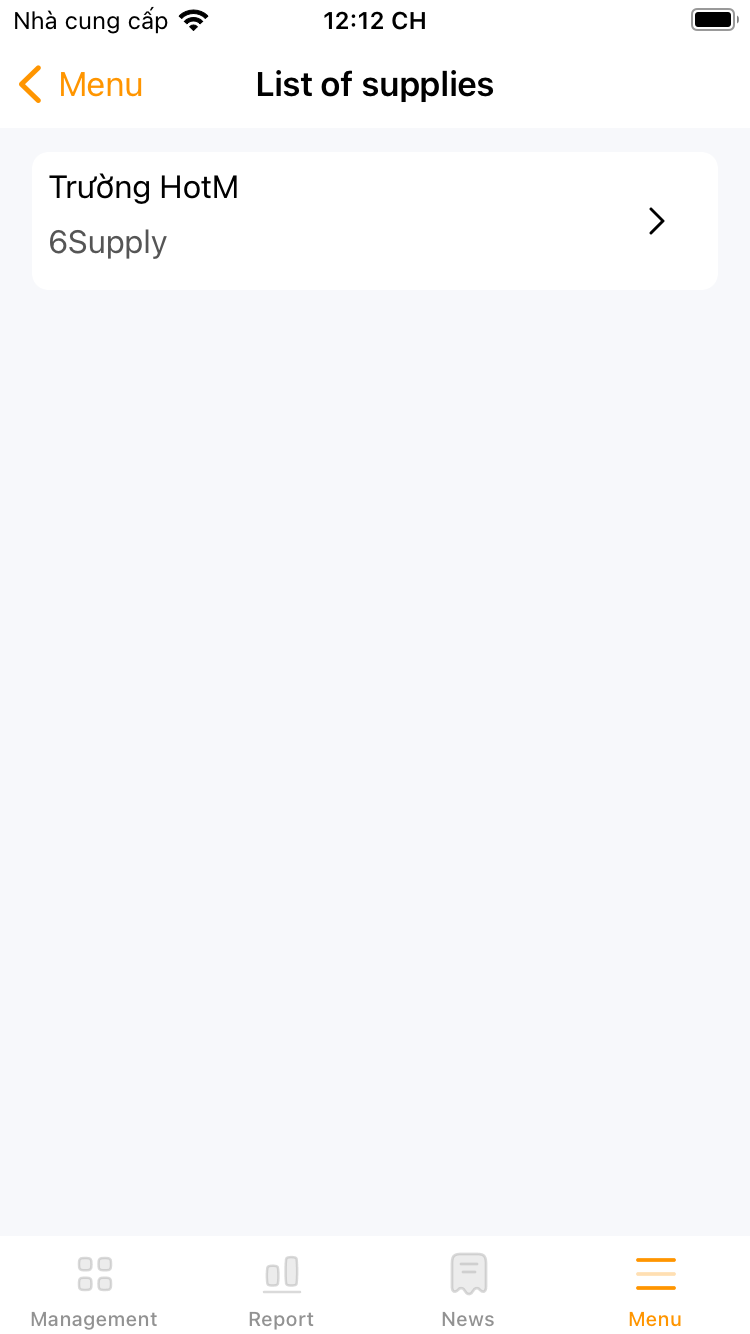
1. Go to menu or settings, select “Category of supplies”
2. Select a Farm
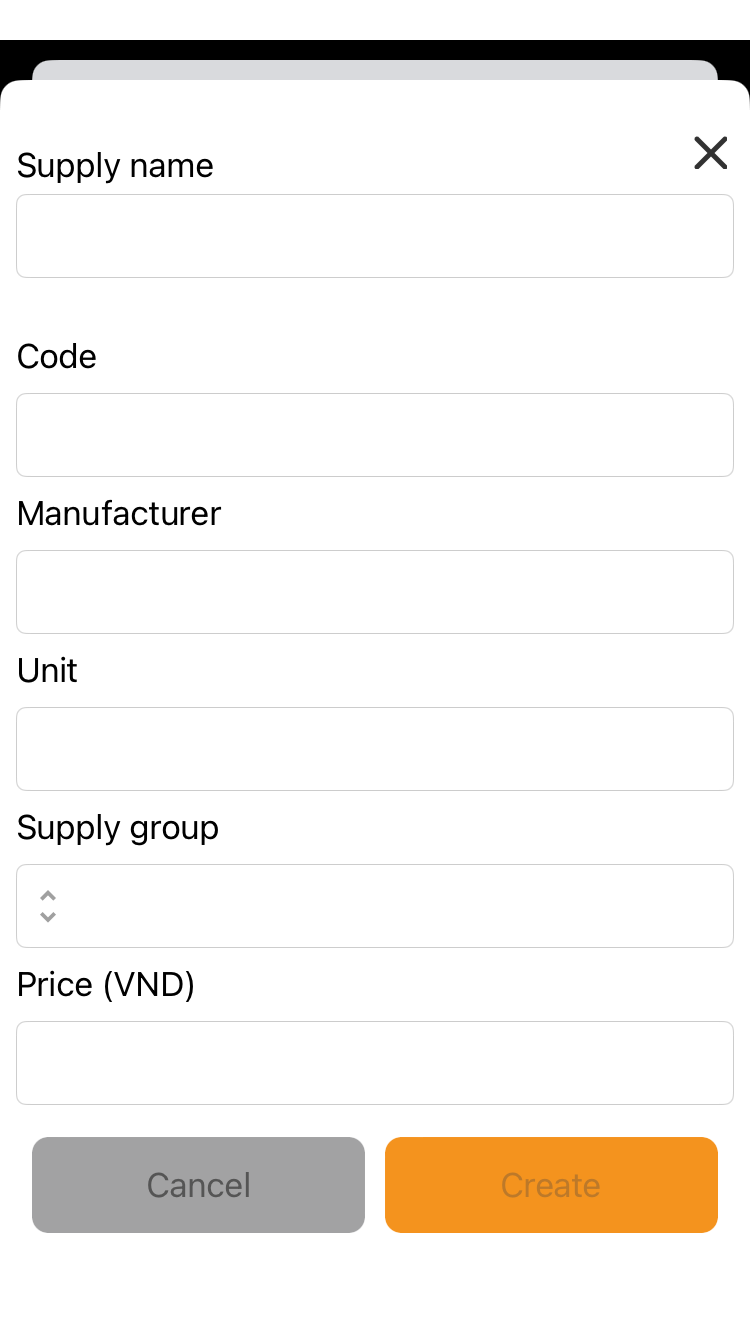
3. Select the “+” button to add supplies
4. You can choose from reference list to add to the farm. Or create a new item.
5. Enter the information of the supply: name, code, supplier, price and supply group
6. Click the “Create” button to finish.
 |
 |
 |
 |
 |
¶ 6. Start Shrimp Event-log
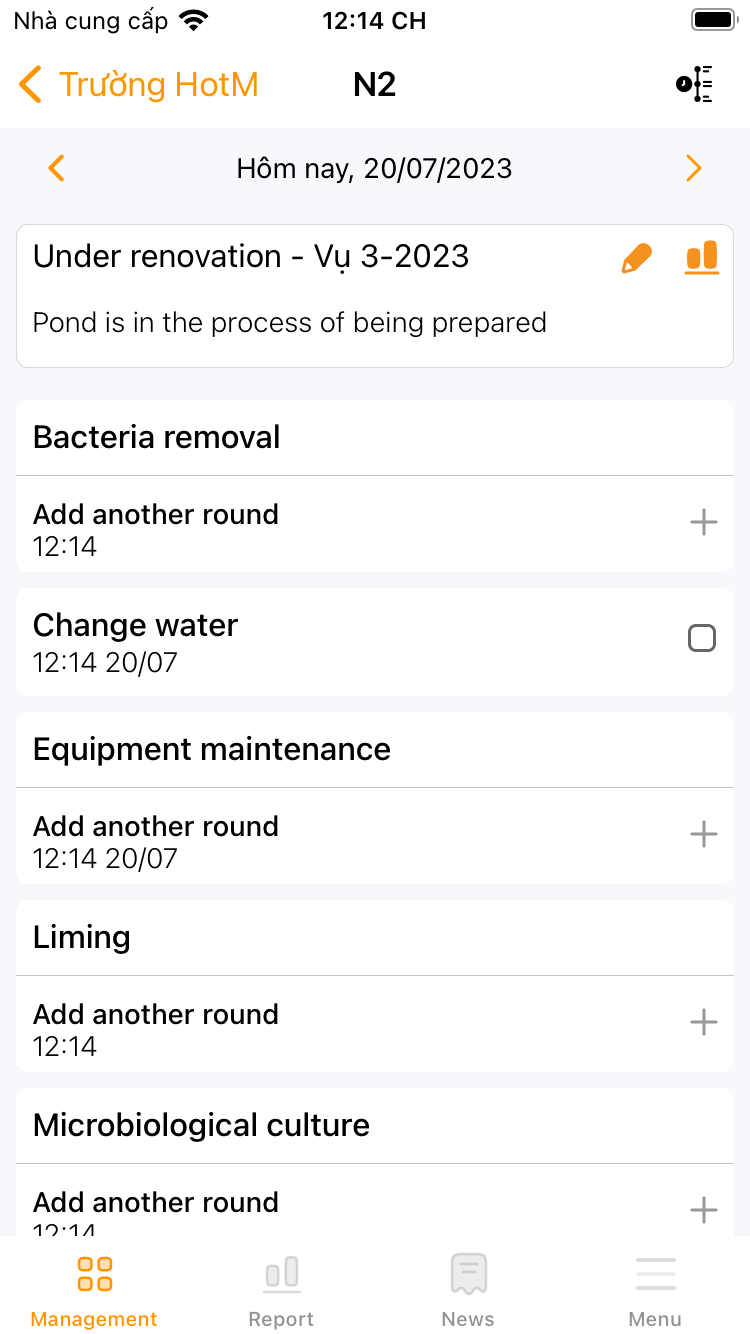
The Shrimp Event-log allows you to record all the events on the pond from the renovation stage (preparing the pond), to stocking, nursery, culture.
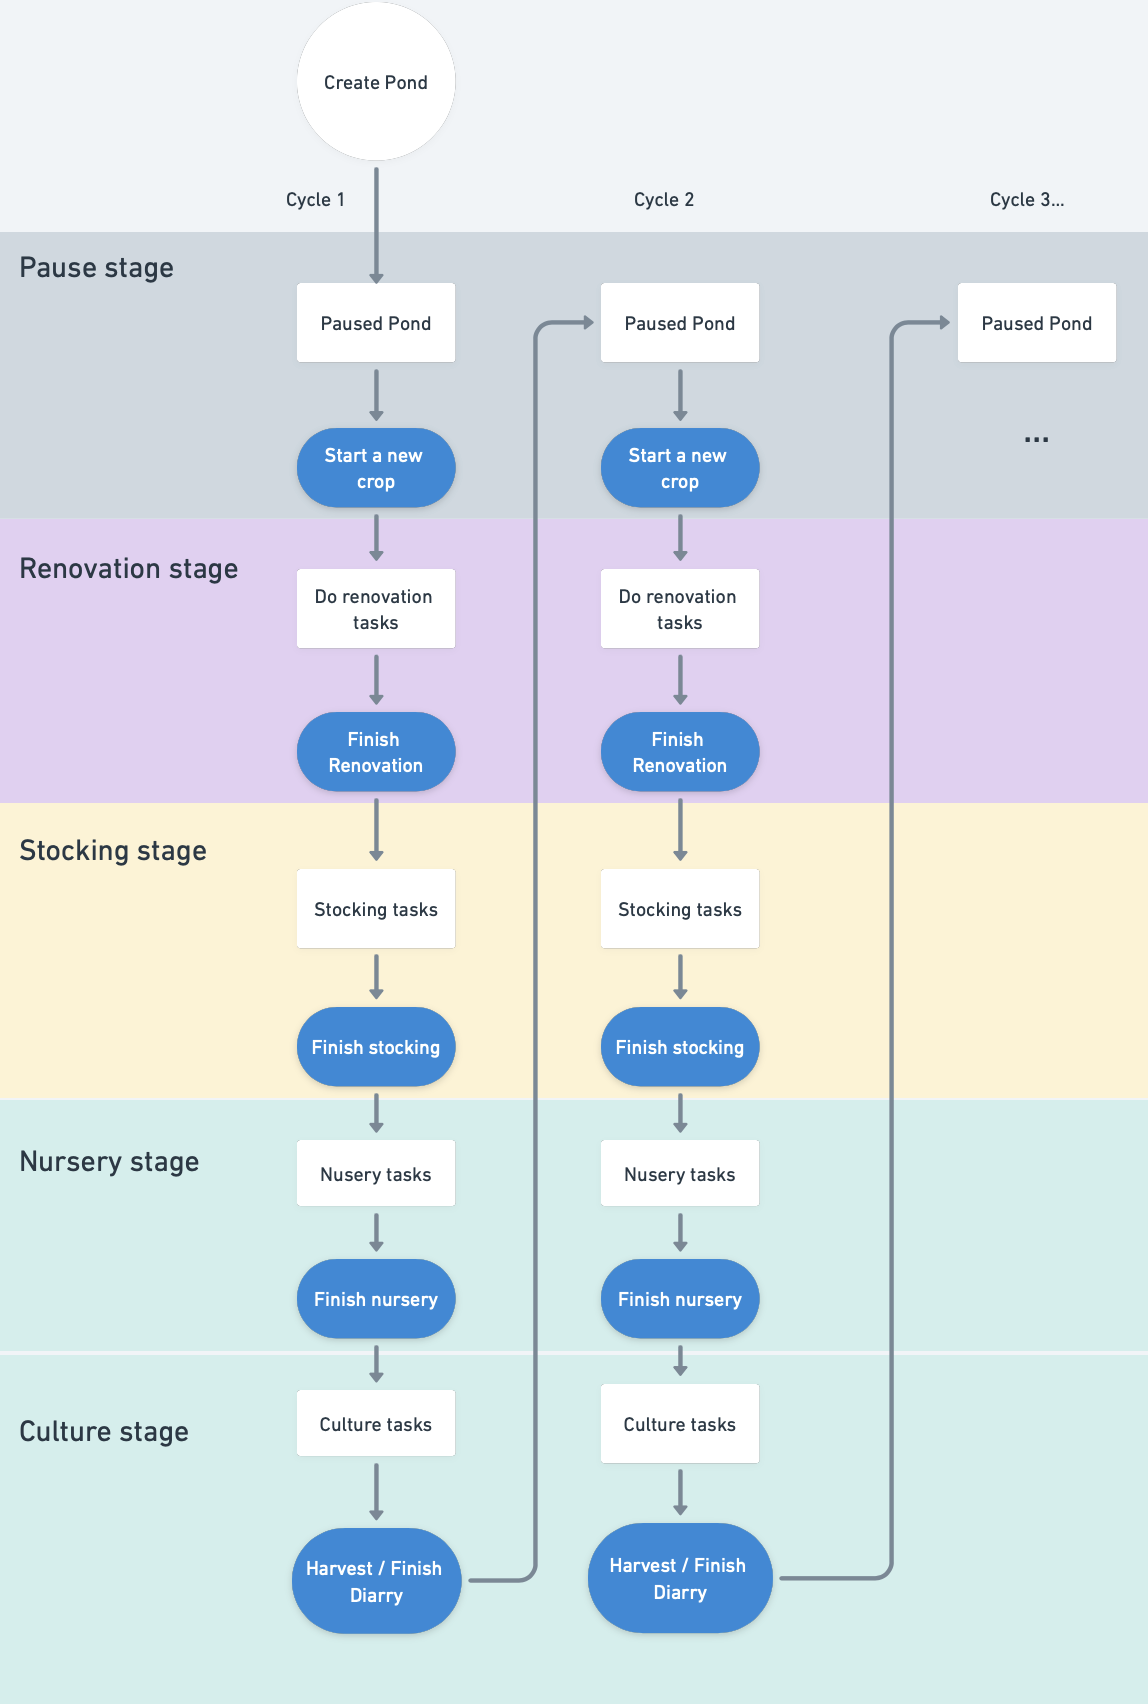
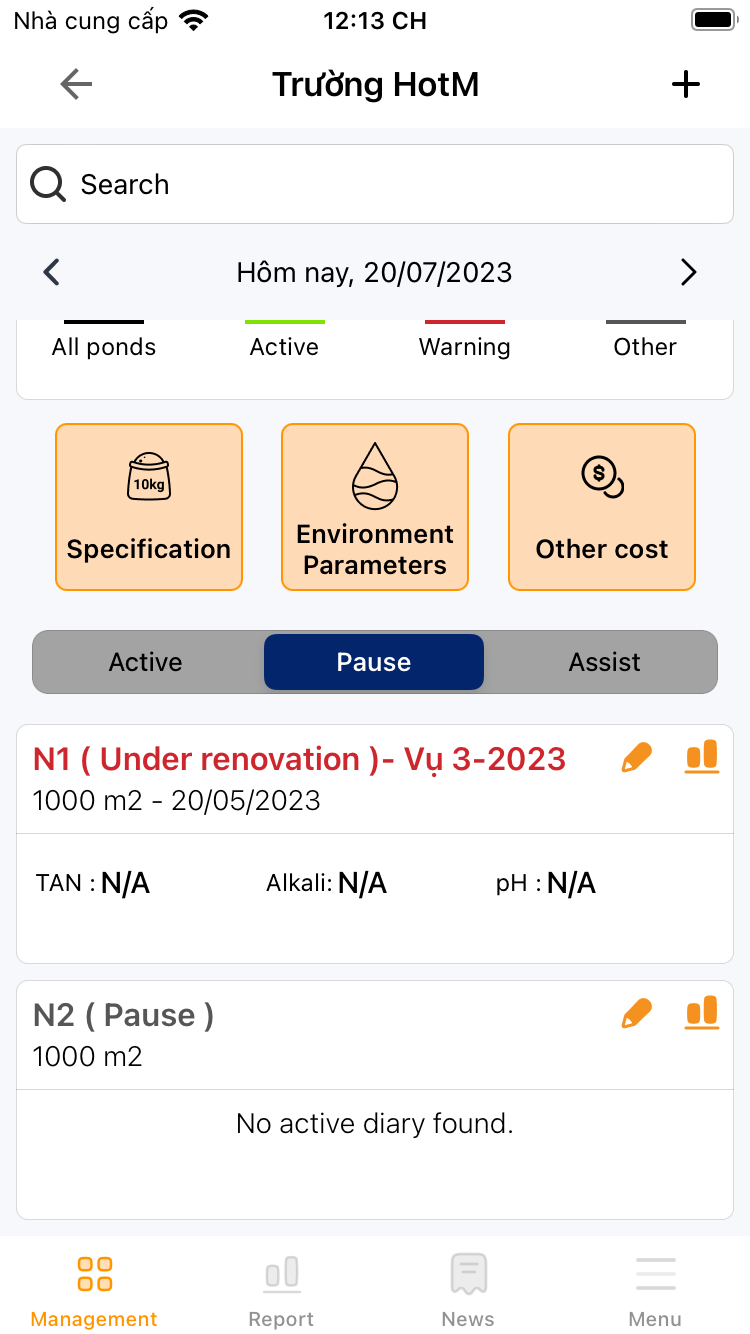
For Starting, the newly created pond will be on pause stage
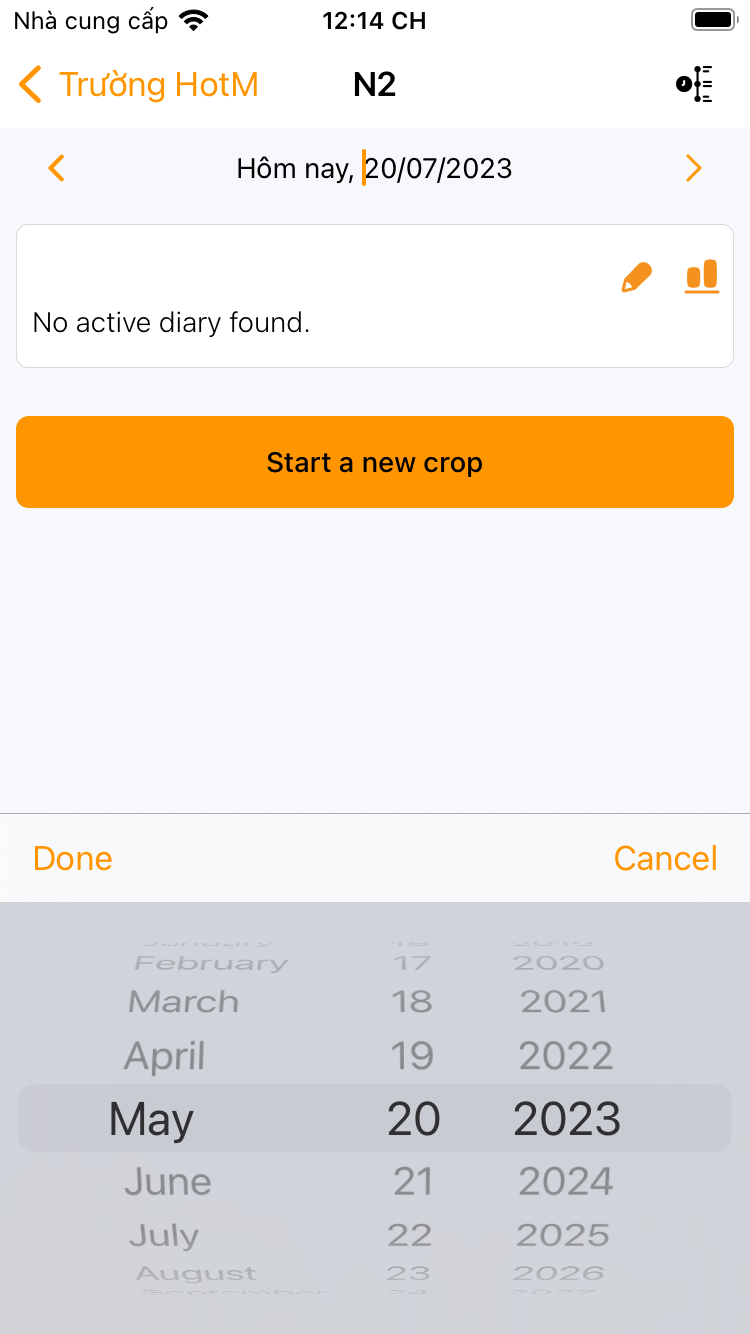
1. At the “Management” screen select the previously created pond.
2. If the actual pond has been cultured before, you can reselect the correct start date before start a new crop.
3. Click the button “Start a new crop”
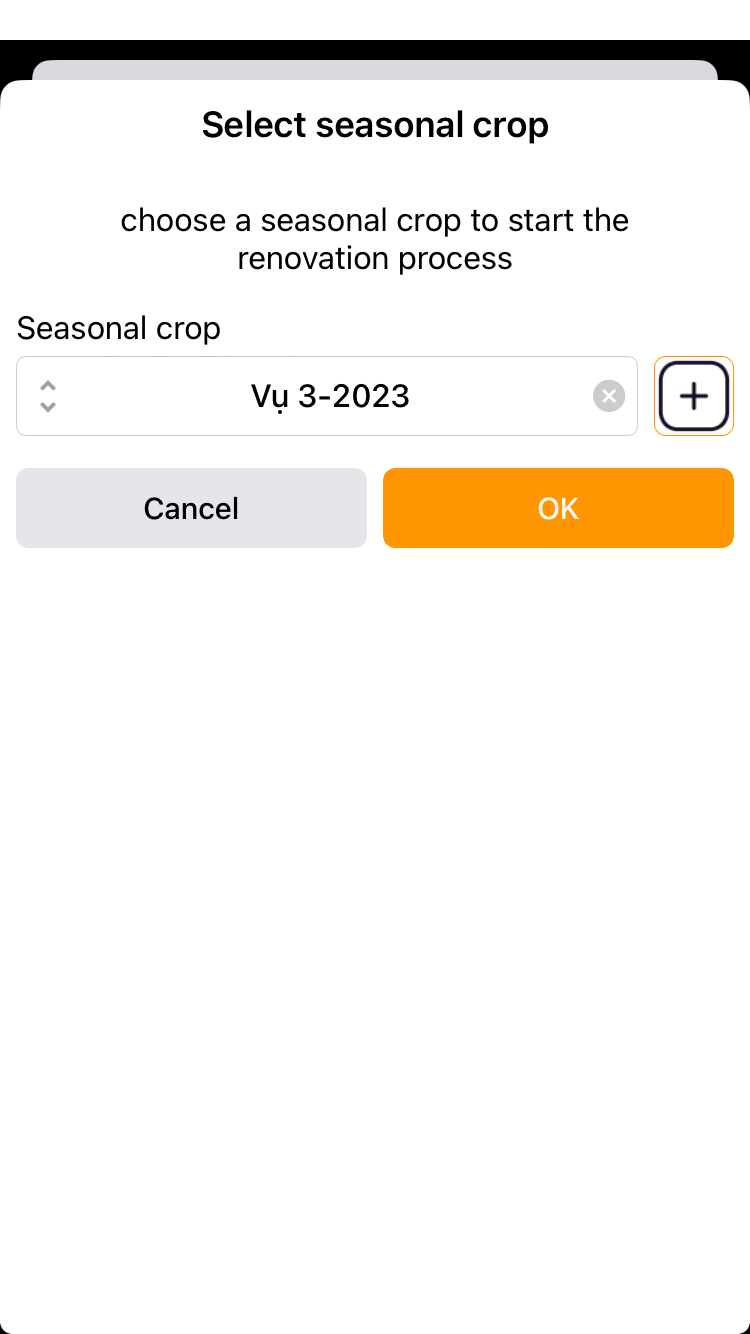
4. Select the crop and click “OK”
5. Start entering day-to-day tasks in the renovation stage.
 |
 |
 |
 |
¶ 6. Reference